
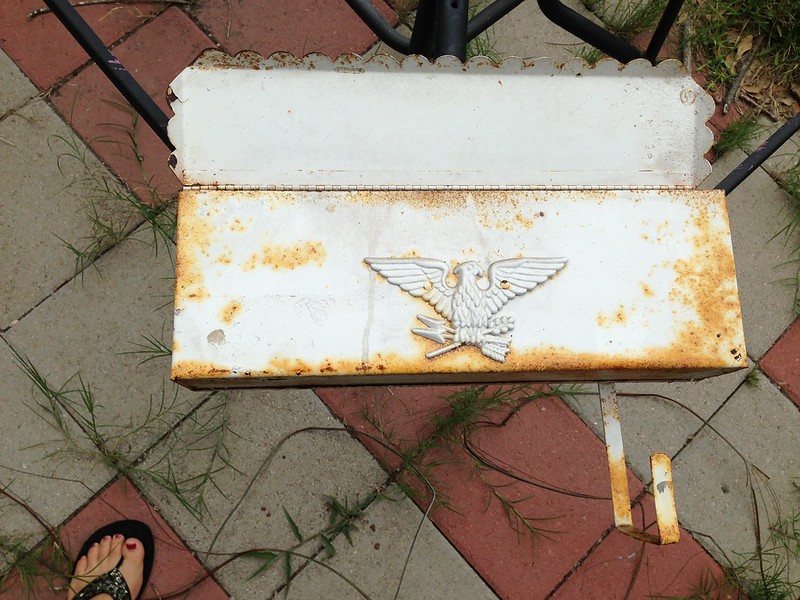
Our mailbox has been a constant source of shame for me for a while now. Everytime we go to Lowe's or Home Depot, I try to get Brad to buy a new one. Mr. Cheapo has always refused. It apparantly wasn't a "priority."
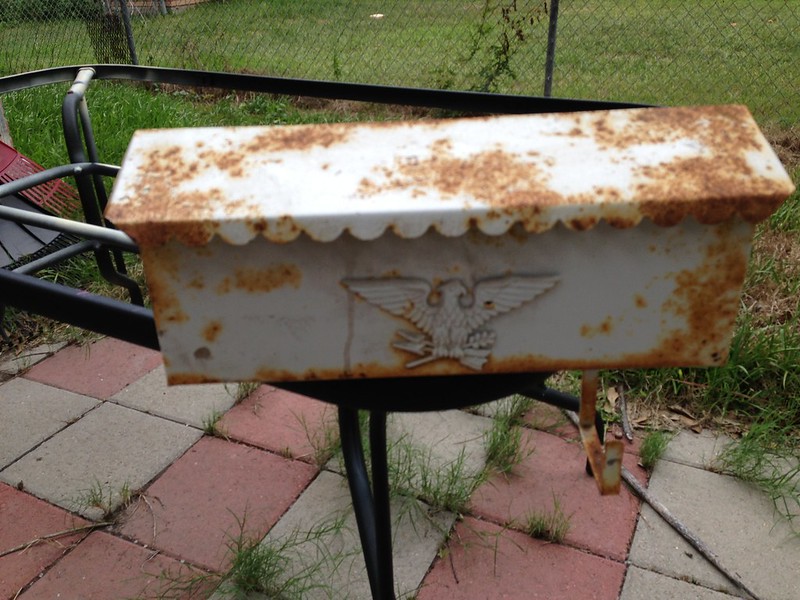
I decided to take things into my own hands. I unscrewed the mailbox from the siding and took it inside a good scrub. Once I cleaned it really well, I learned that it was originally white (not cream) and it was much rustier than I had originally believed. I sanded down the rust as best as I could and I let it dry.
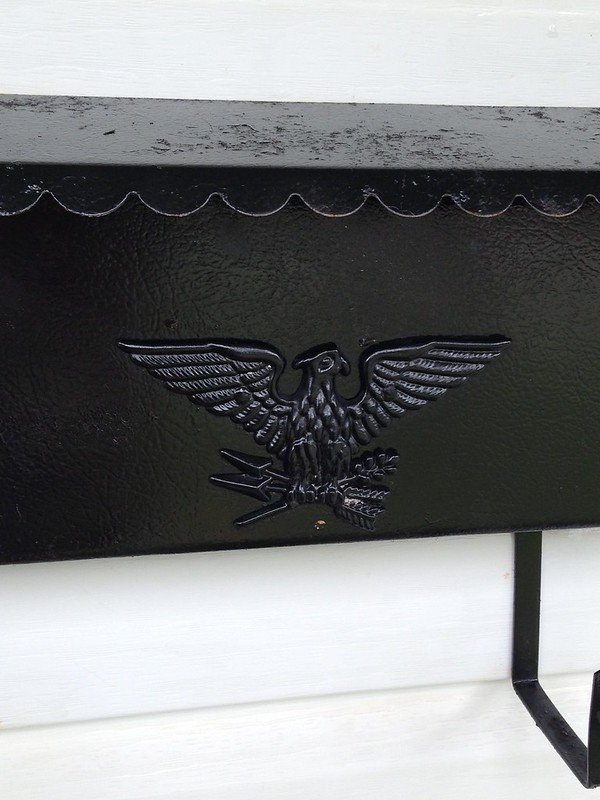
Now it was time for the best part. Spray Paint. I already had a can of black spray paint in the utility room, so I went with that color. Free is Awesome.
I carefully spray painted the front, bottom, sides, and inside of the mailbox. I did not worry about the back since it would be butting up to the siding. I also didn't want to have to worry about the paint rubbing off and staining the siding.
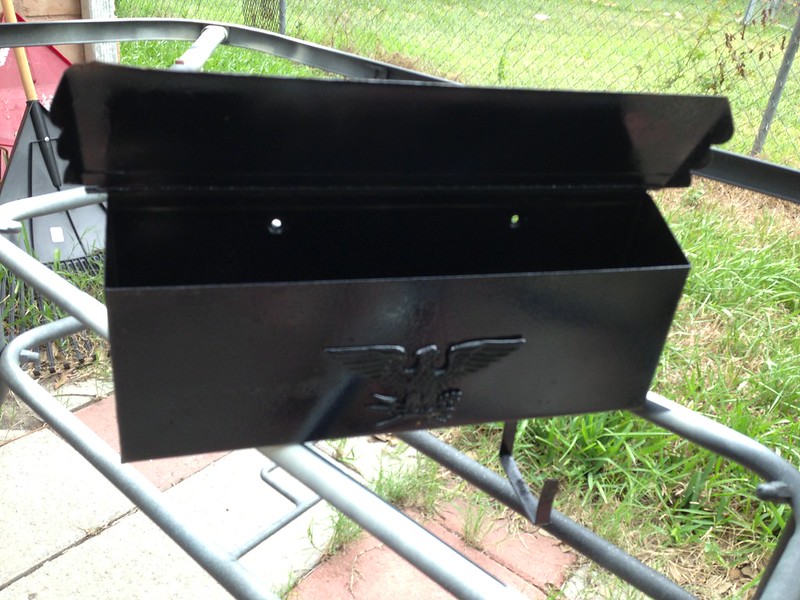
I carefully applied to coats, and here is the final product. I think it is a vast improvement over the original.
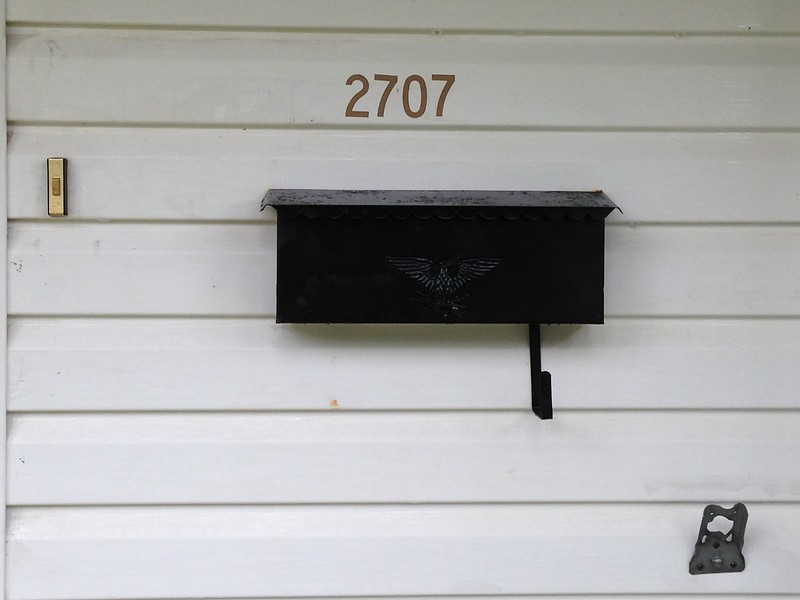
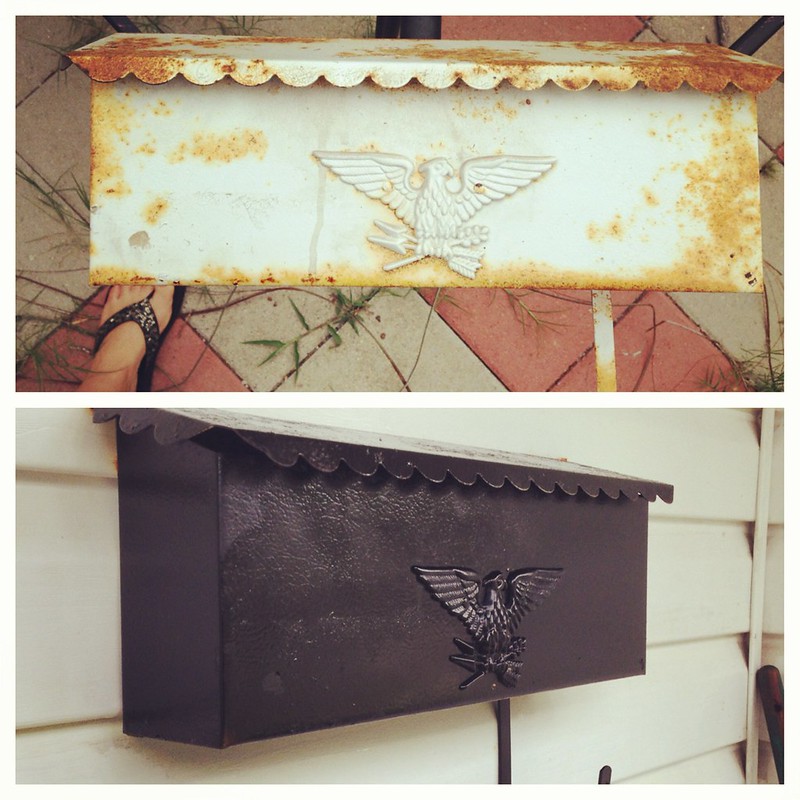 Project Cost: 50 cents worth of spray paint (and some elbow grease).
 Project 2: File Cabinet.
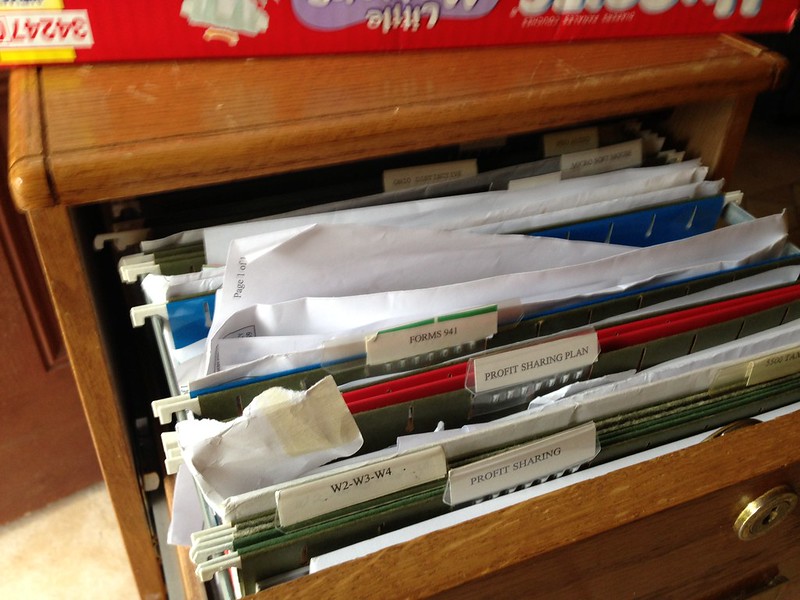
Our file cabinet/filing system was a mess. I'm not talking about just papers sticking out here and there. I am talking about digging through papers for two hours to find what you need messy. So I needed to fix it up, and isn't that what summer is for?
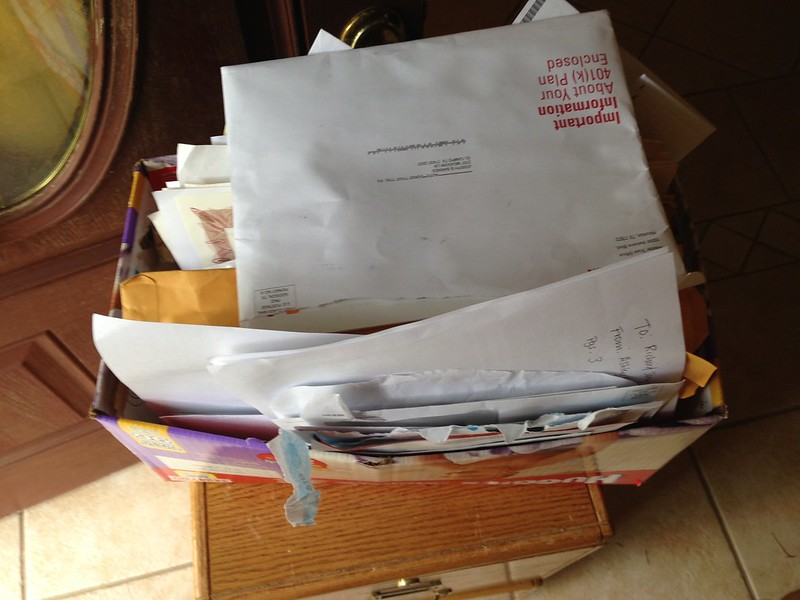
I bought this filing cabinet at a garage sale last summer. It has served it purpose very well, and it even came with hanging file folders (score!). All of the papers that needed to be filed have been stored in an old diaper box. Classy, I know.
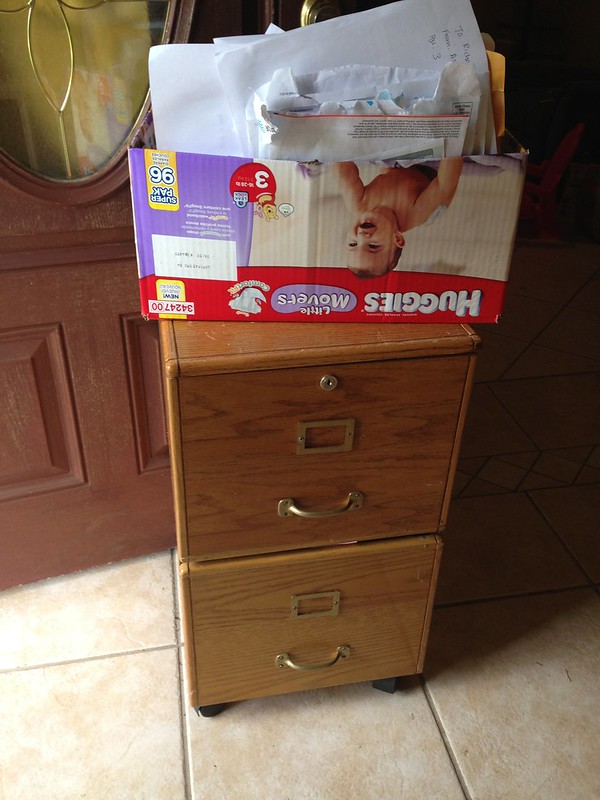
Here is a shameful picture of the messy drawer before. Notice that all of the folders are still labeled using the previous owner's labels.
All of the papers needing to be filed.
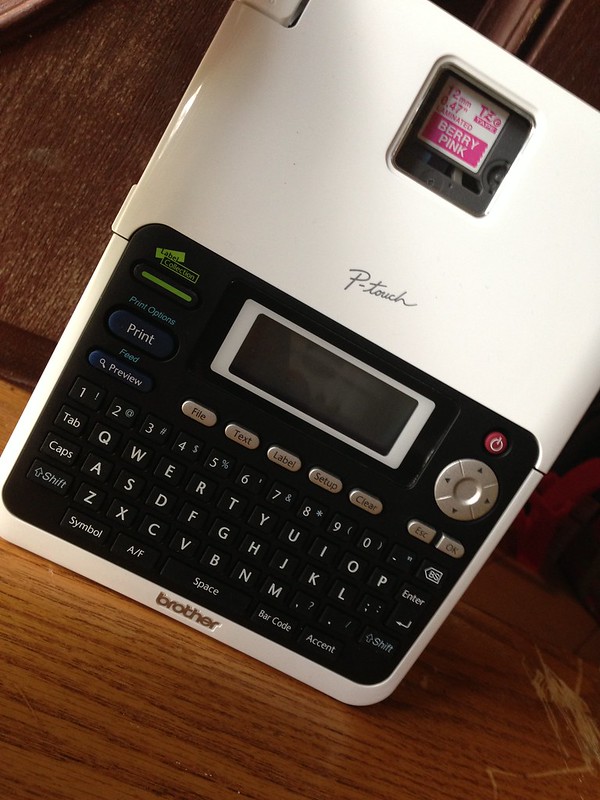
This is the nifty label maker that I bought to help me solve this dilema. They are normally pretty expensive, but Office Max had them on special for $20. Whoop!
Here is an after picture. I still need to get more hanging folders, but for now, at least everything is neatly labeled and organized.

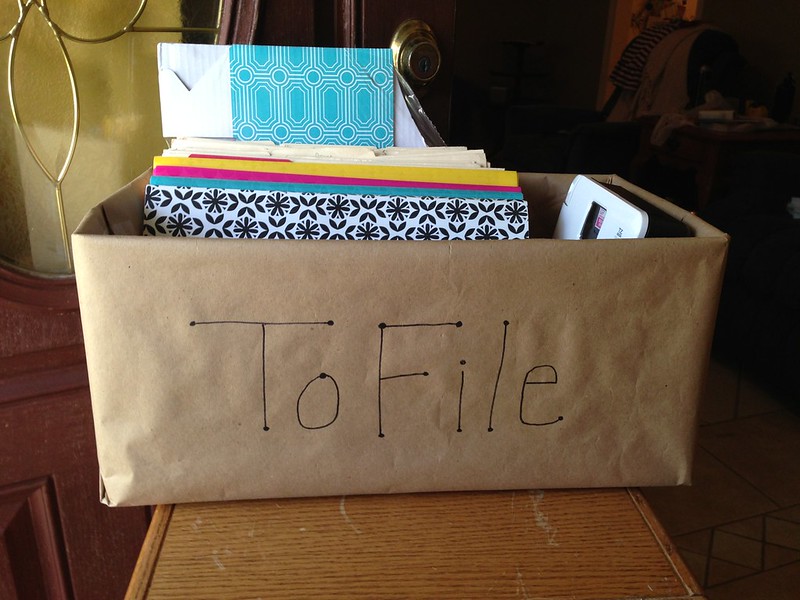
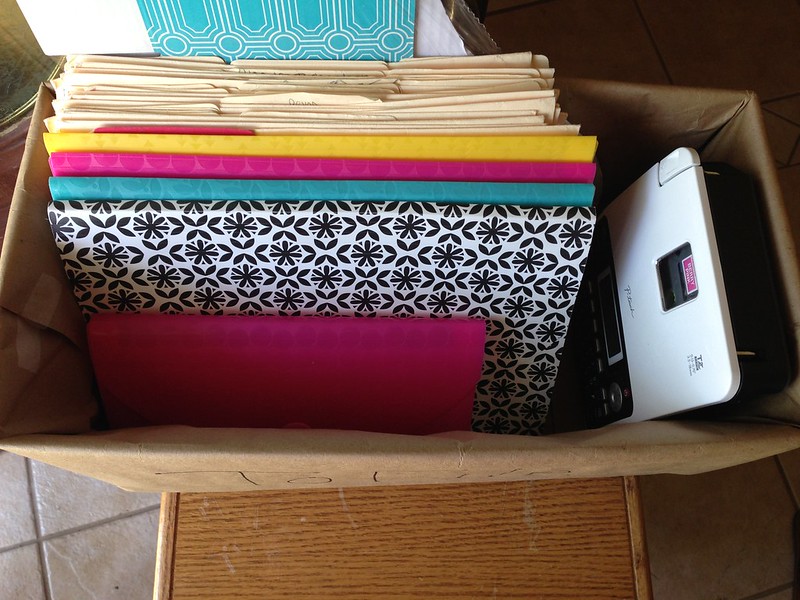
I still need a holding area for mail when it comes in. It is just not feasible for me to file stuff everyday. So I wrapped the box in brown paper, and I bought some expandable folders from Target's dollar bin. I think it is much prettier.
Not a beautiful permanent system, but definitely an improvement over what we had. The best part is that the only project costs were the label maker and label refils, and I will definitely use those again.
Project Cost: $30
Project 3: DIY Chalkboard
I have been wanting to play around with chalkboard paint for some time now. I have countless pins about making your own chalkboard paint, and I even bought some grout so that I could try it out. Since this was my first project though and since it wasn't giong to require a lot of paint, I decided to buy some chalkboard spray paint.
I friend of mine gave me some old cabinet doors. I thought these would make perfect chalkboards. I wanted one to go in my classroom and one ot go in my kitchen to use as a menu board. Britt also made one.
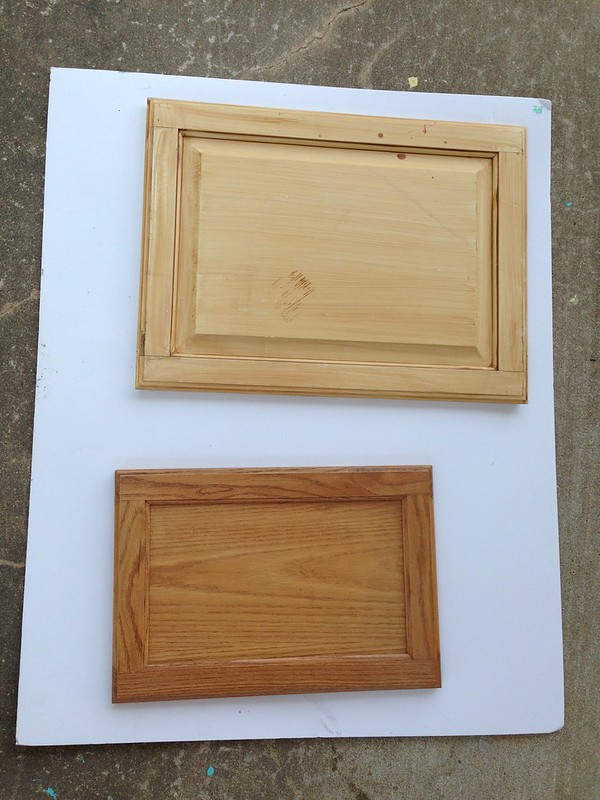
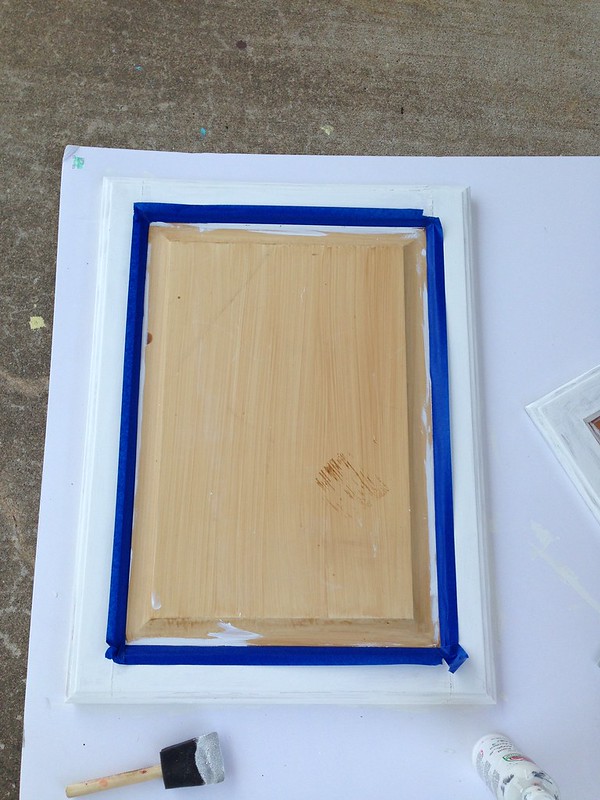
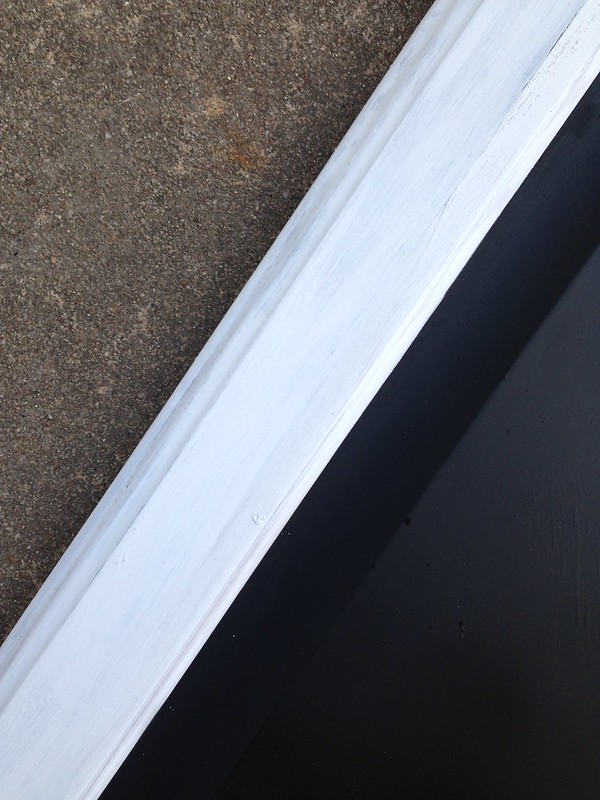
First we cleaned the boards since they had been sitting out in the garage. Then using acryllic paint that I already had a home, we painted the "frame" of the cabinet. We put two coats on each of them because I didn't want any of the wood to show through.
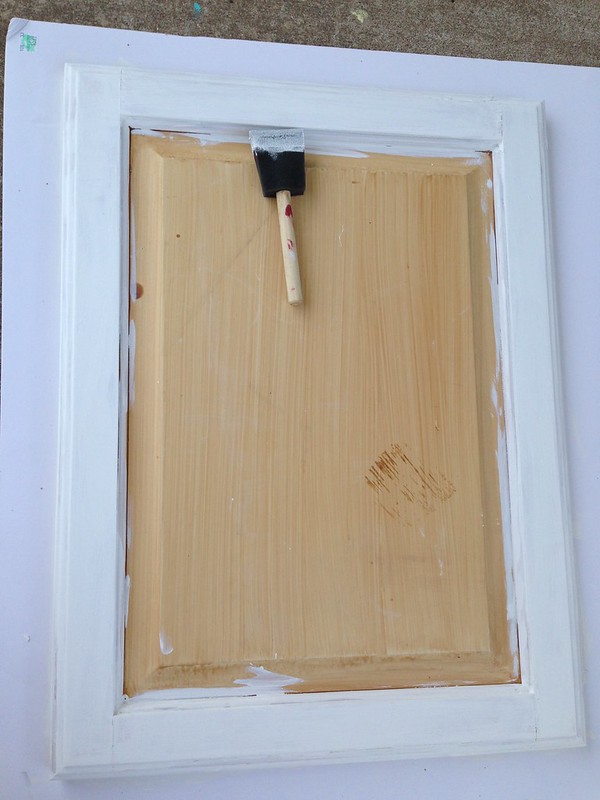
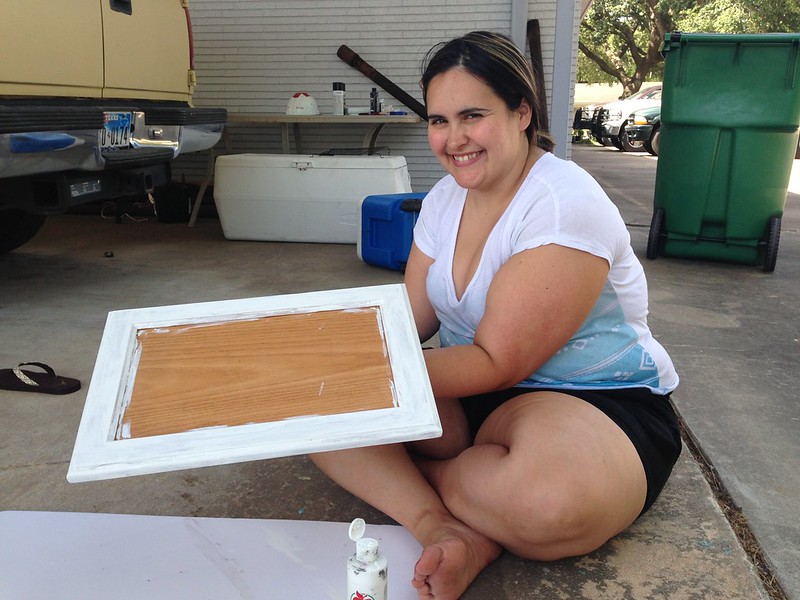
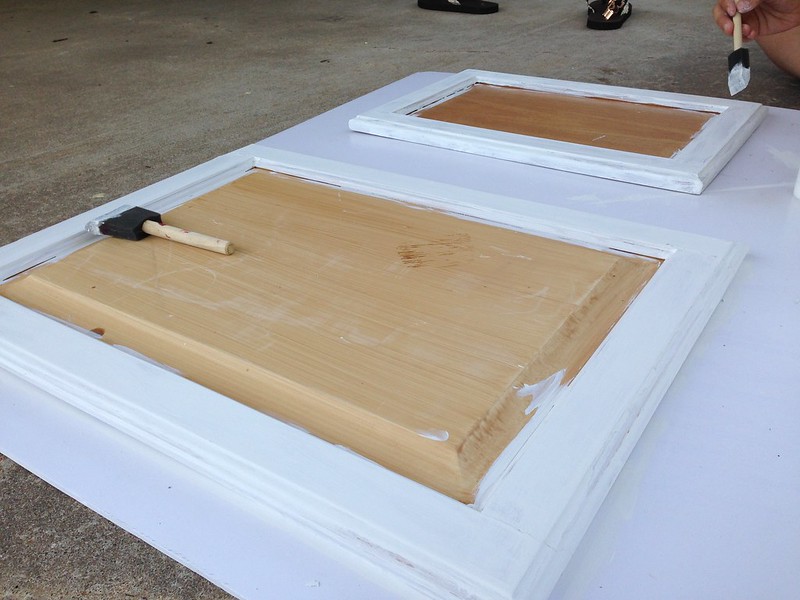
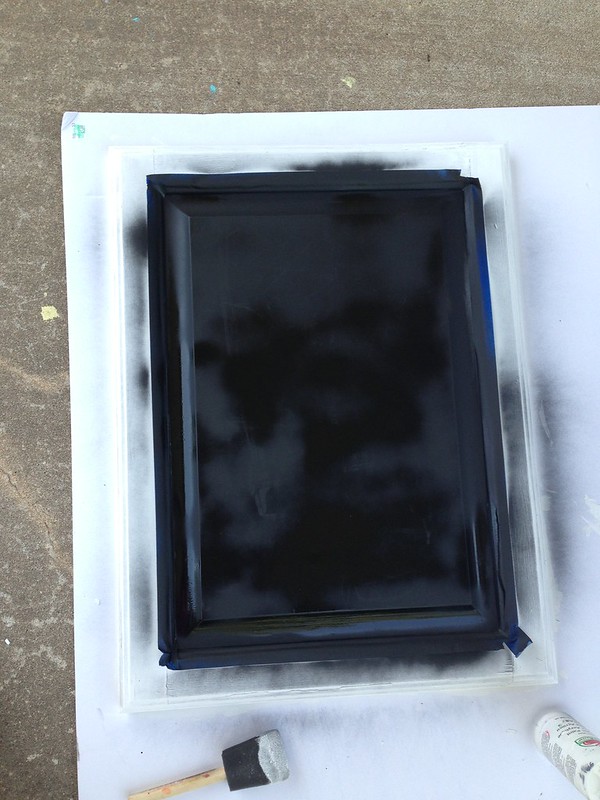
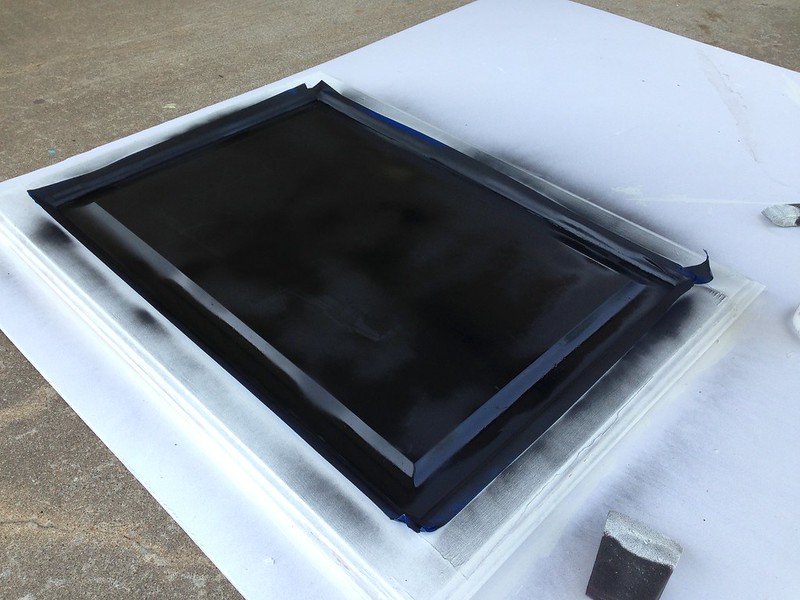
Next we taped off the edges, and we started spray painting the board. The instructions called for 2 coats. We also had to wait 24 hours for it to fully dry before writing on the board.


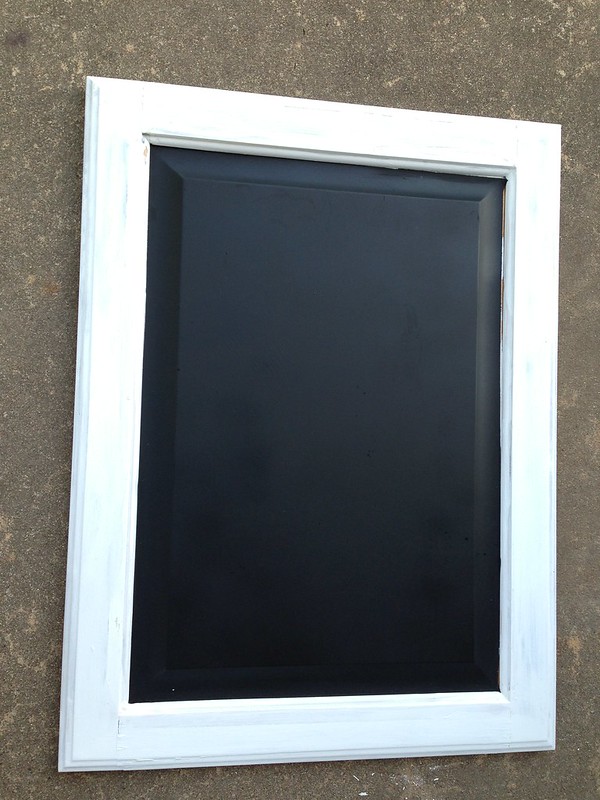
This is what the board looks like after we pulled off the tape. I also had to go back and touch up the white edges because I was a little messy with the spray paint. Next time, I will probably get thicker painters tape.
Next, you have to coat the entire board with a layer of chalk to "cure" the paint. If you don't do this, you will have a hard time getting any writing off the board without soap and water.
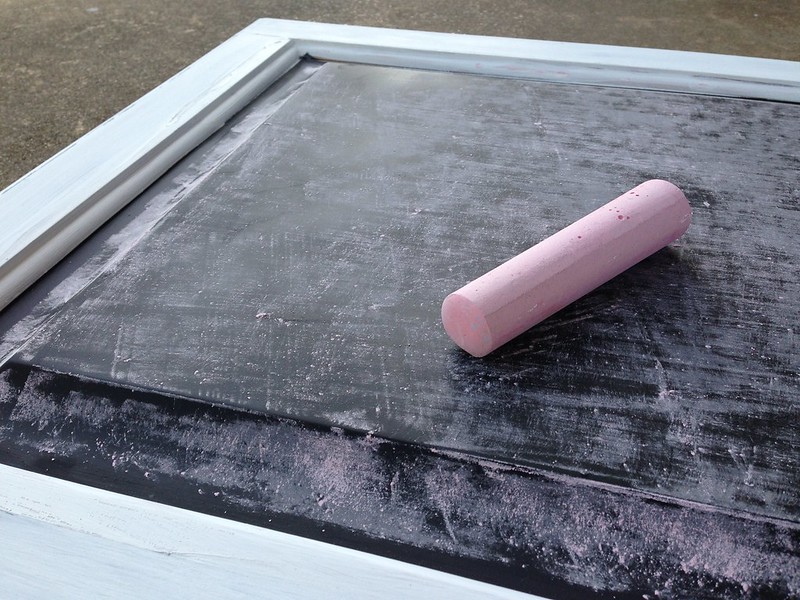
Then you can start writing!
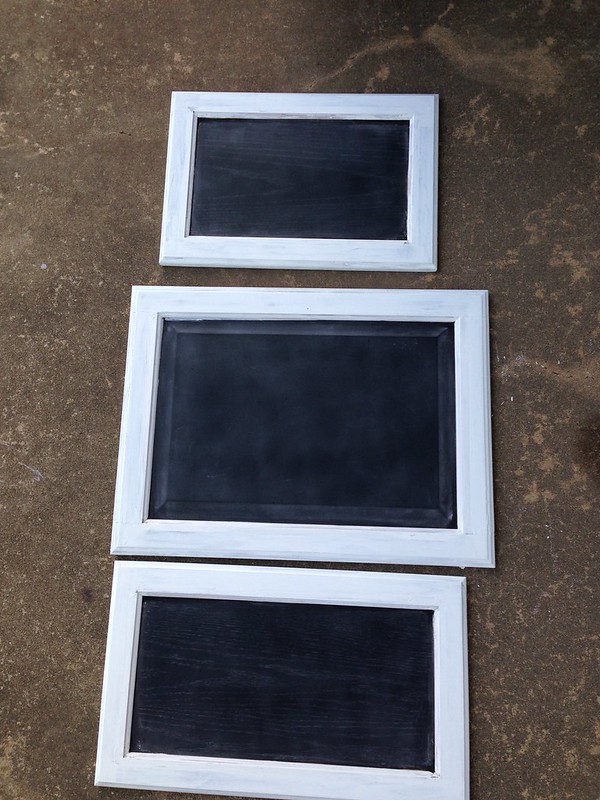
Final cost: $3.97 (cost of chalkboard spray paint).
Now to peruse Pinterest for some more fun projects to work on! :)
No comments:
Post a Comment